
In this tutorial, we will learn to create a product with lots in Odoo 17. Lot management is crucial in industries such as pharmaceuticals and food, where tracking and traceability are essential. We will use a medicine, "Paracetamol 500 mg", as an example.
Tutorial: How to create a product with lots
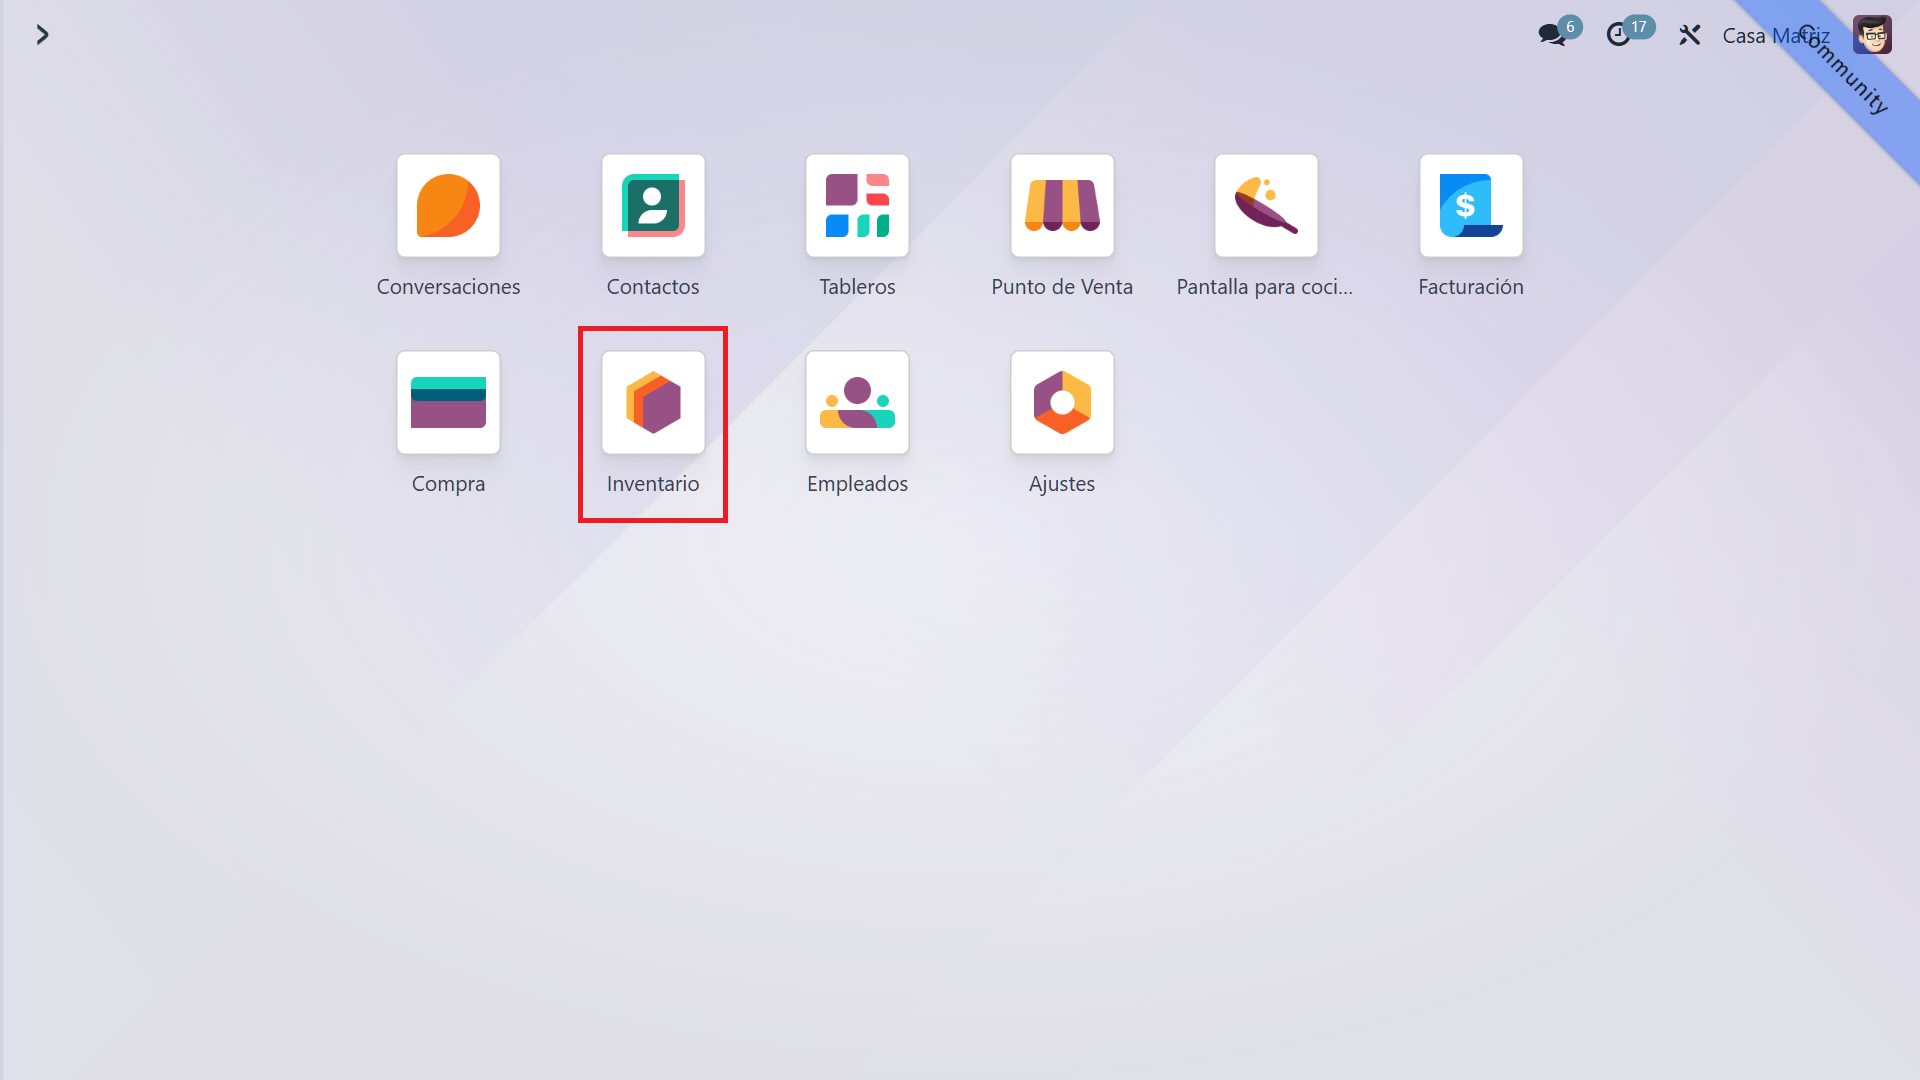
1. Inventory in the main menu
In the Odoo main menu, select "Inventory".
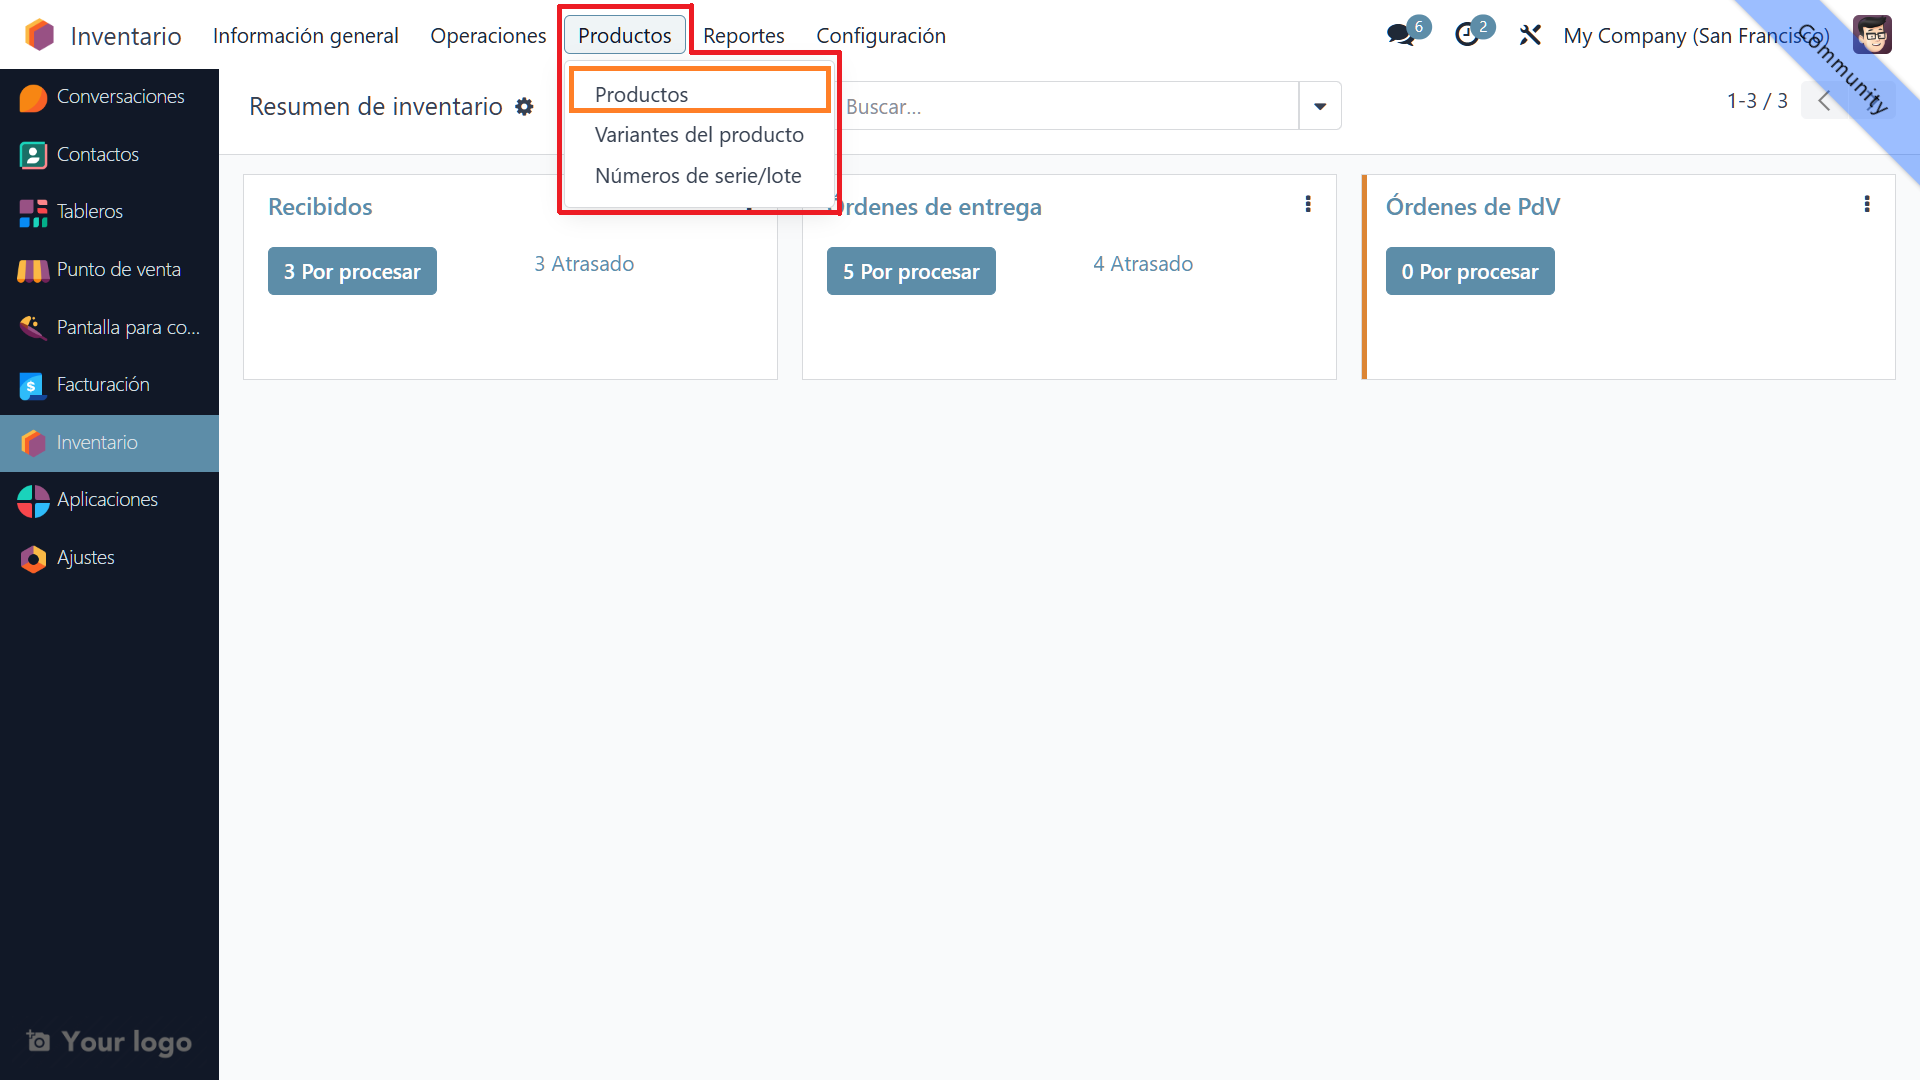
2. Products in the top menu, then Products
At the top of the Inventory module, click "Products", then select "Products". You will see a list of all existing products.
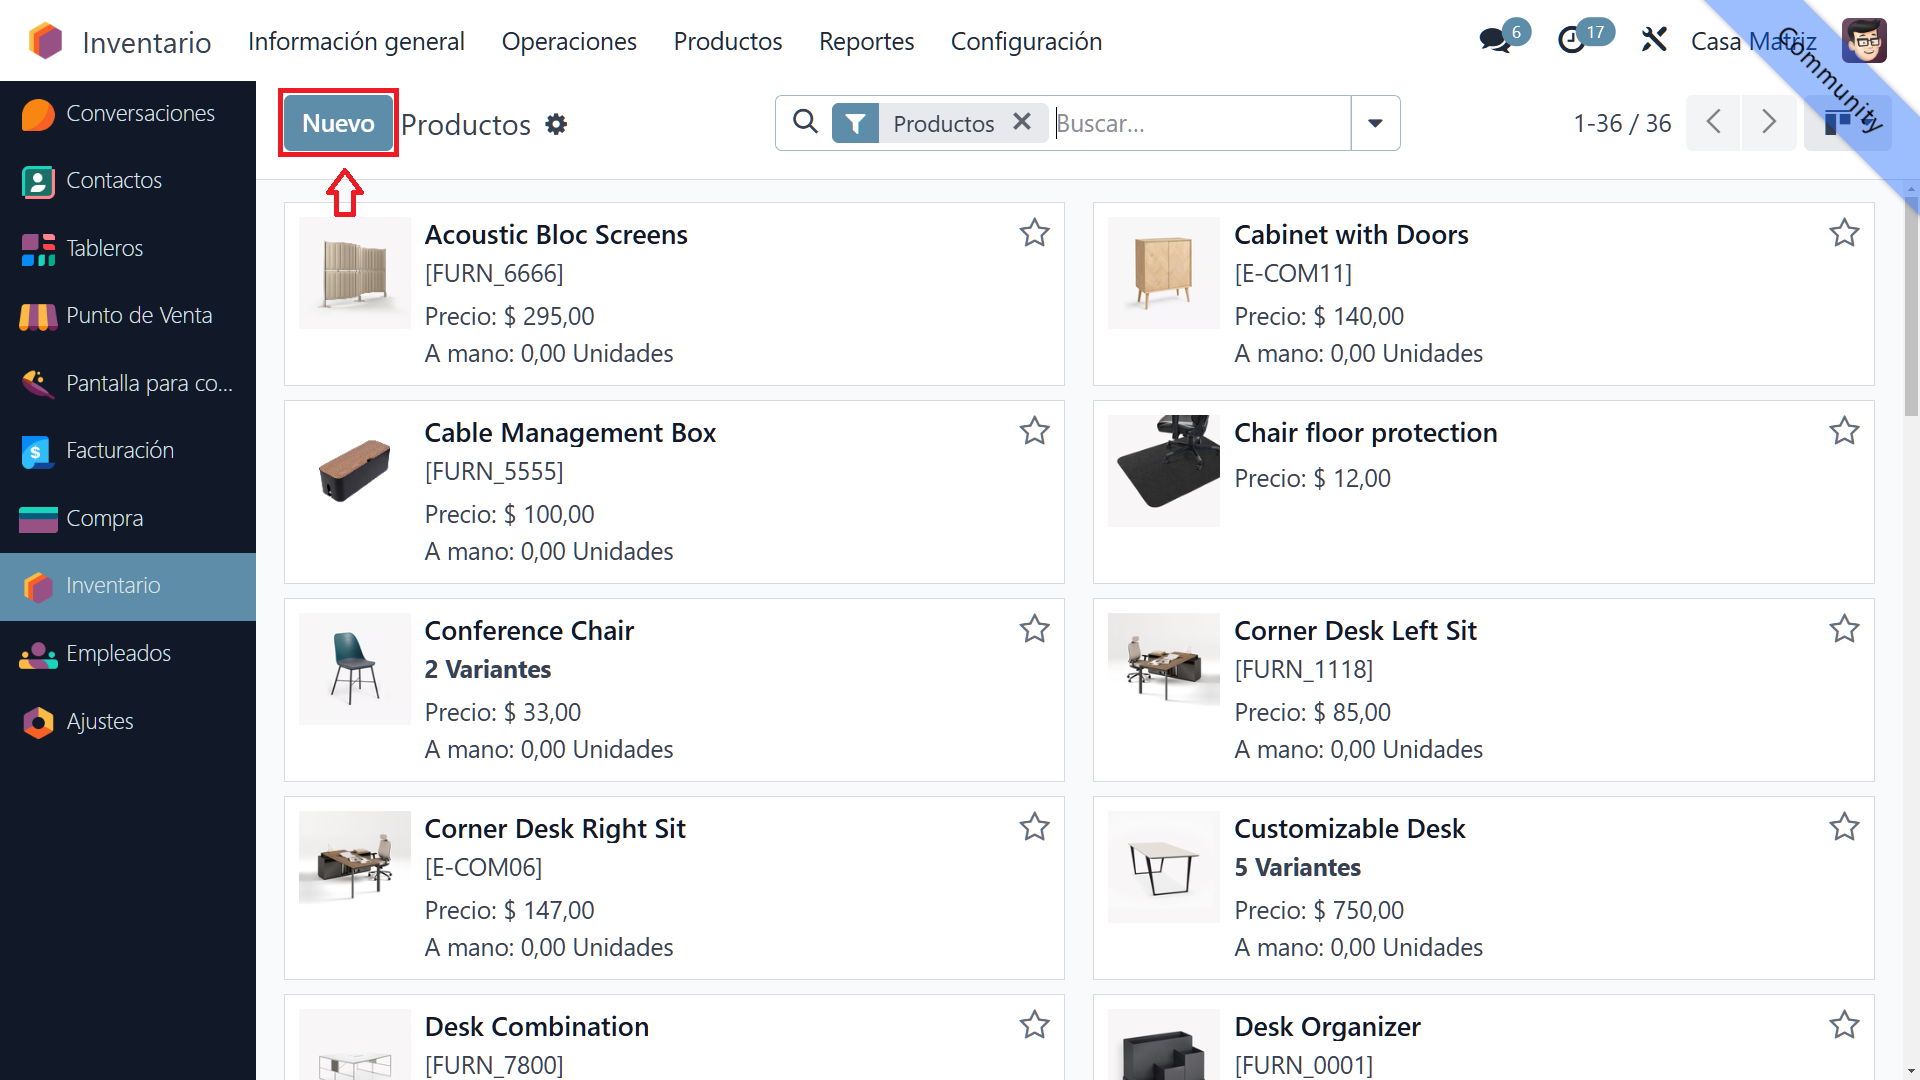
3. The "New" button
To create a product, click "New" at the top of the screen. A form opens where you can enter the new product details.
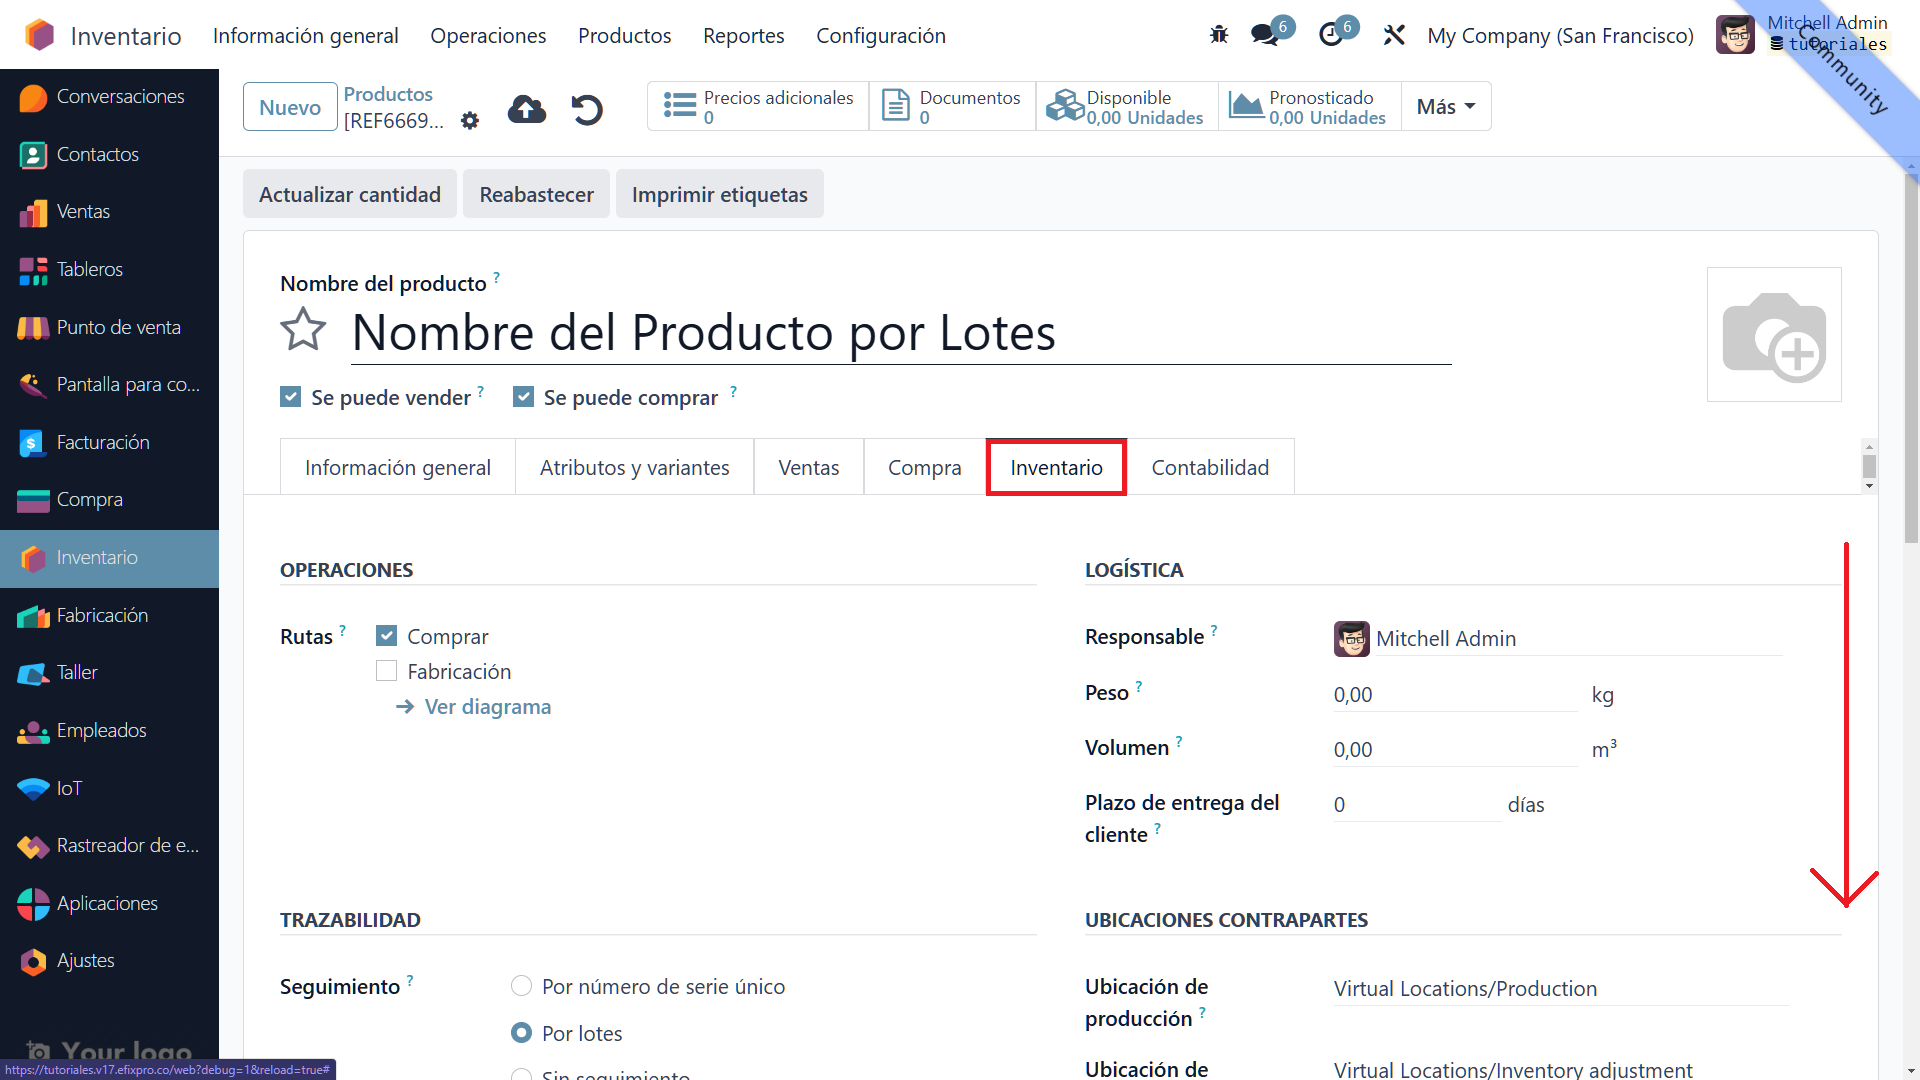
4. The "Inventory" tab
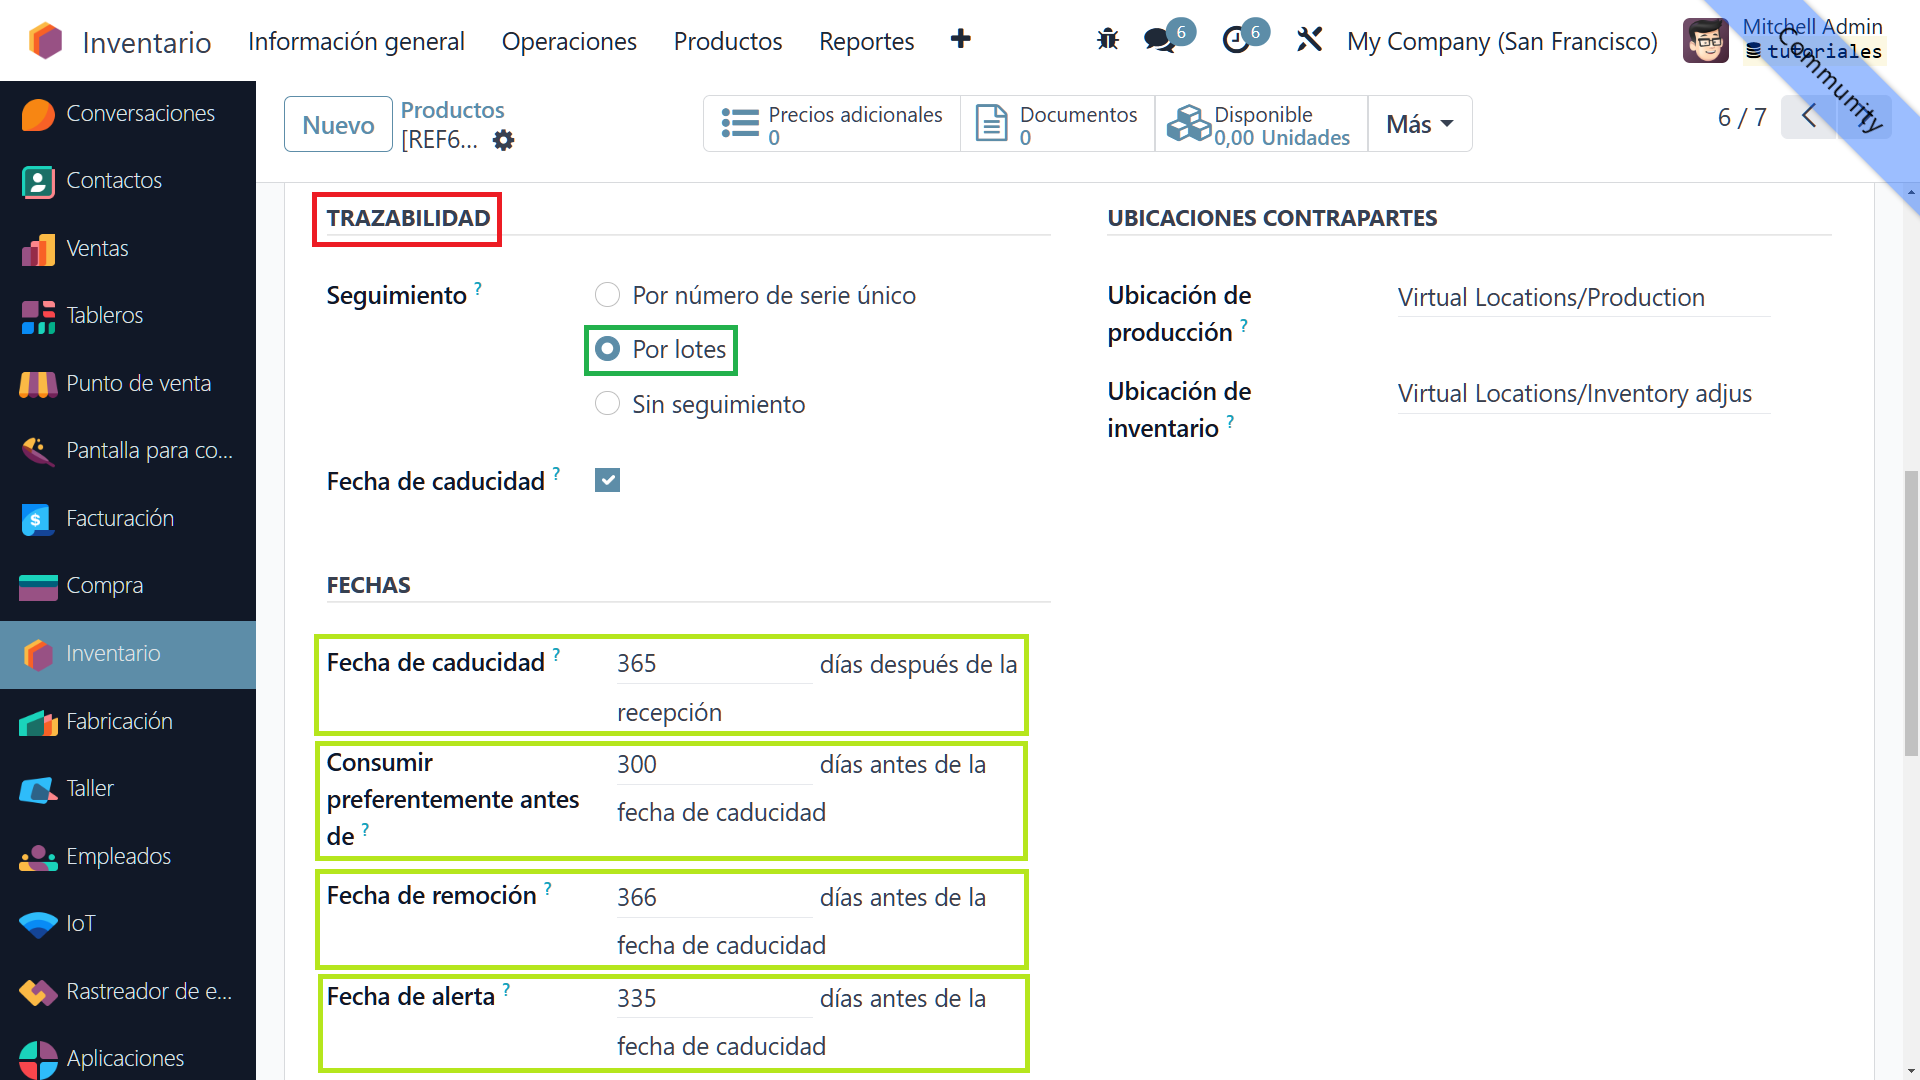
Go to the "Inventory" tab. Scroll down to the "TRACEABILITY" section.
5. Specify the details
- By lots radio button: Select this option to enable lot management for the product.
- Expiration date checkbox: Select this option to enable expiration date management.
Enter the following date information:
- Expiration date ___ days after receipt:
Specify how many days after receipt the product expires, for example "365 days" for one year of validity. - Best before ___ days before expiration:
Specify how many days before the expiration date the product should preferably be consumed, for example "30 days". - Removal date ___ days before expiration:
Specify how many days before expiration the product should be removed from inventory, for example "10 days". - Alert date ___ days before expiration:
Specify how many days before expiration an alert should be generated, for example "60 days".
After completing these steps, click "Save" to register the new lot-tracked product in the system.
You have successfully created your first lot-tracked product in Odoo 17!